There is no one-size-fits-all answer to this question, as the best way to sew pointe shoes for beginners may vary depending on the type of pointe shoes being sewn. However, some tips on how to sew pointe shoes for beginners include using a strong and durable thread, using a sharp needle, and sewing slowly and carefully.
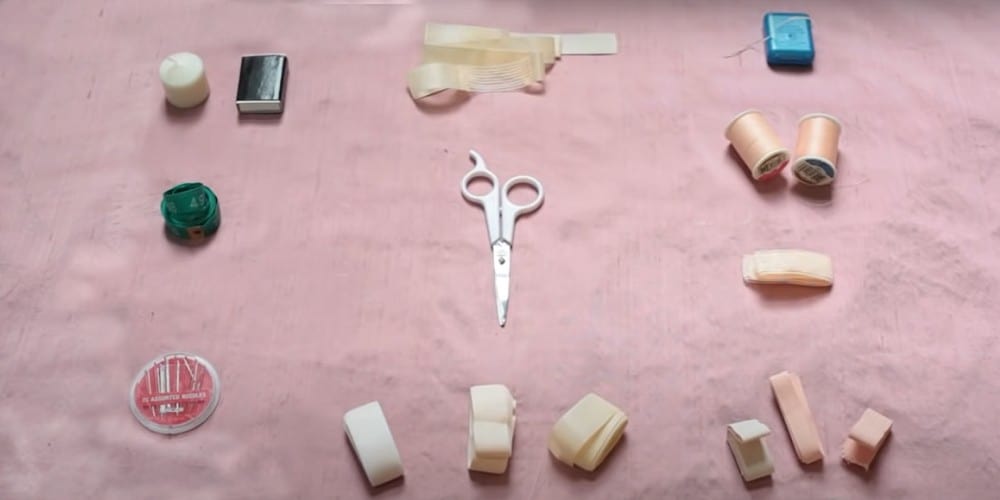
Step 1: Gather Materials
There are many different types of materials that can be used for sewing pointe shoes, but the most important factor to consider is the durability of the fabric. The most common fabrics used for pointe shoes are satin, leather, and canvas.
Satin is a very popular choice for pointe shoes because it is very strong and durable. It is also very comfortable to wear, which is important for dancers who are on their feet for long periods of time.
Leather is another durable option for pointe shoes. It is important to choose high-quality leather that is comfortable and will not cause blisters.
Canvas is a less popular choice for beginner pointe shoes, but it can be a good option for dancers who are looking for a more breathable fabric. It is important to choose a canvas that is strong enough to support the dancer’s weight.
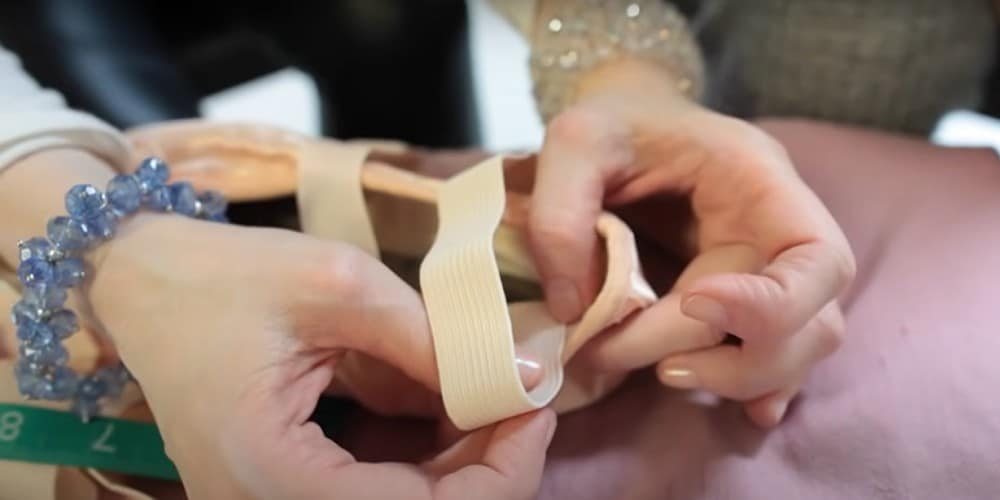
Step 2: Placement & Measuring of Elastics
There are a few different ways to place and measure elastics on pointe shoes, and the method you use may depend on the type of shoe you have. If you have a shoe with pre-sewn holes, you can simply thread the elastic through the holes and tie it in a knot. If you have a shoe without pre-sewn holes, you will need to sew the elastic onto the shoe.
Step 3: Measure Thread
There are many opinions in the world of dance about the right amount of elastic in pointe shoes. Some instructors say to have a lot of elastic, while others say not to have any. At first glance, it may not seem like a big deal, but it is a very important component of your pointe shoe.
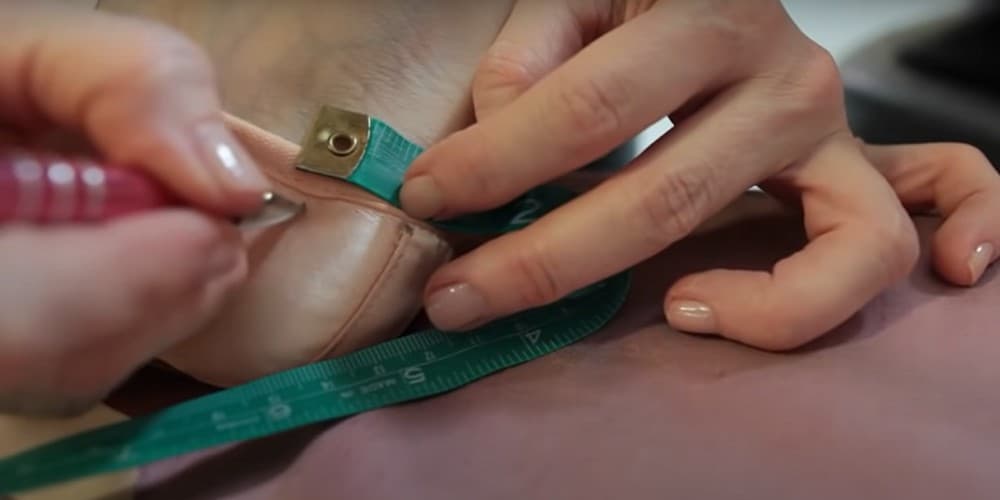
Using a piece of elastic or an old pointe shoe top, measure from the tip of the big toe to the ball of the foot, or just over the ball of the foot. This measurement is the total length of the elastic needed.
Step 4: Sew Elastics
Then, use a needle and thread to sew one end of the elastic onto the inside of the shoe near the toe. Next, stretch the elastic across the toe of the shoe and sew the other end onto the inside of the shoe near the heel. Be sure to sew the elastic securely so that it will not come loose. Finally, try on the shoes to make sure the elastic is comfortable and does not rub or pinch your foot.
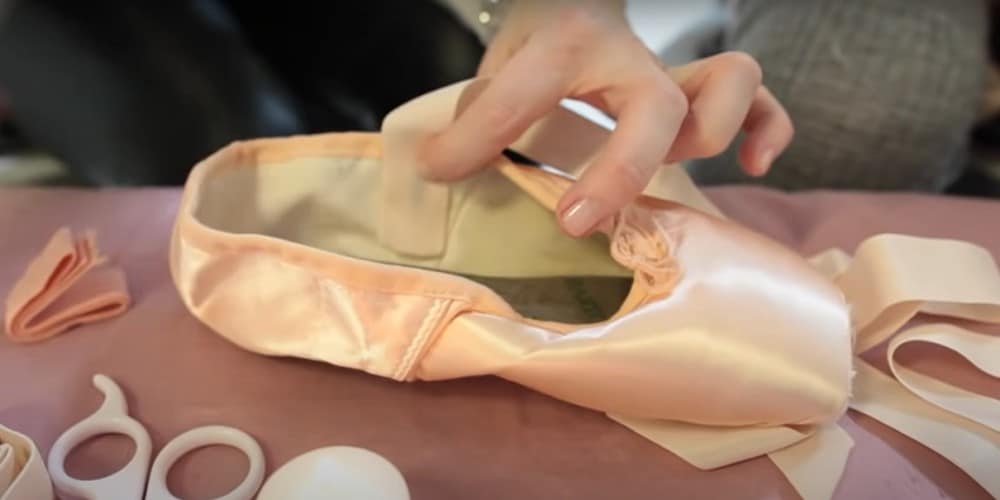
Step 5: Placement & Measuring of Ribbons
Pointe ribbons are placed on the inside of the shoe, about an inch below the ankle bone. They should be positioned so that when the foot is in the correct position for pointe work, the ribbon will be taunt and will not slip. The ribbon should be long enough to wrap around the foot once, with a few inches to spare.
To measure for pointe ribbons, start by wrapping the ribbon around the foot in the desired position. Cut the ribbon, leaving a few inches to spare. Next, wrap the ribbon around the foot again, this time overlapping the first layer of the ribbon by about an inch. Cut the ribbon, again leaving a few inches to spare. Repeat this process until you have four or five layers of ribbon wrapped around the foot.
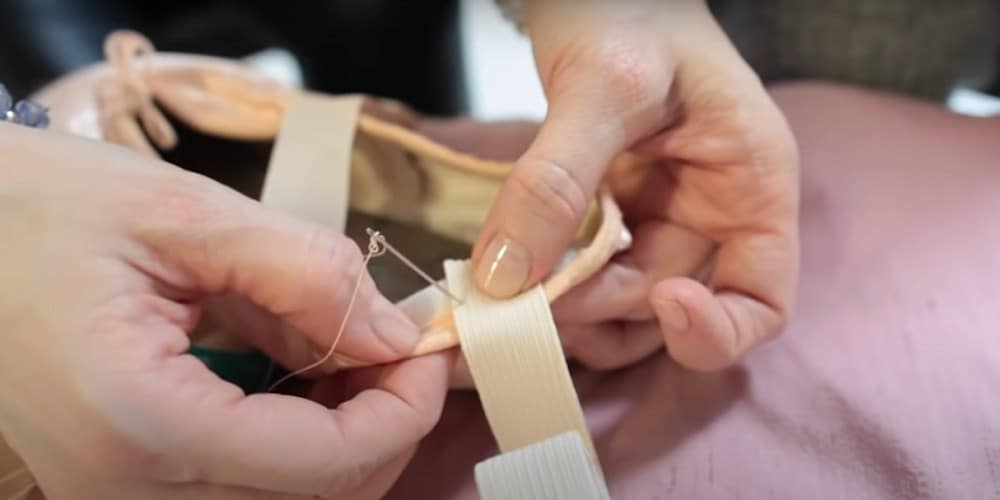
Step 6: Sew Ribbons
Before you start, you will need to gather some supplies. You will need a pair of pointe shoes, ribbons, a needle, and thread. You may also want to use a thimble to protect your fingers from the needle.
Once you have all of your supplies, you are ready to start sewing! Begin by threading your needle, and then tie a knot at the end of the thread. Next, take one of the ribbons and fold it in half.

Now, insert the needle into the center of the folded ribbon, and then pull it through to the other side. You should now have a loop of ribbon on the needle.
To continue, insert the needle into the loop of ribbon, and then pull it through to the other side. You have now created a small stitch. Repeat this process until the ribbon is securely attached to the pointe shoe.
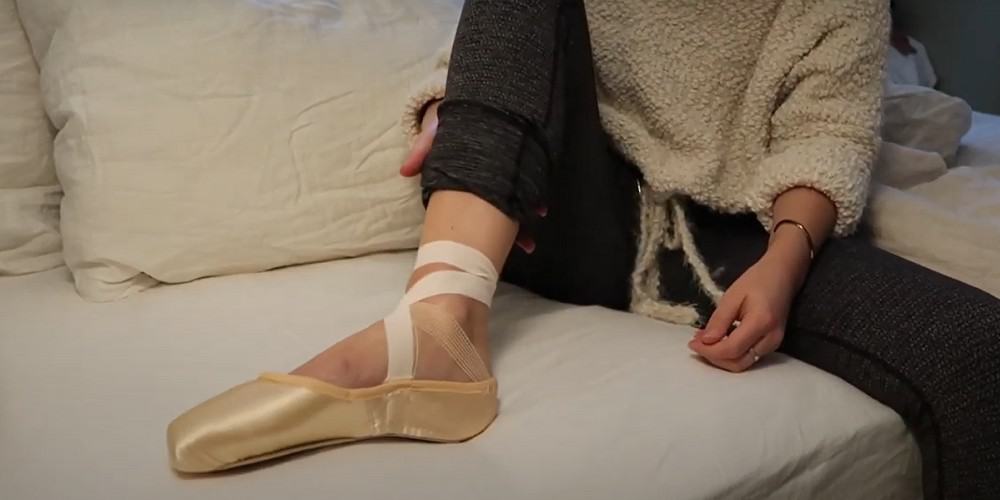
Once you have finished sewing pointe shoes for beginners the ribbons onto the pointe shoes, you can now enjoy the beautiful results!
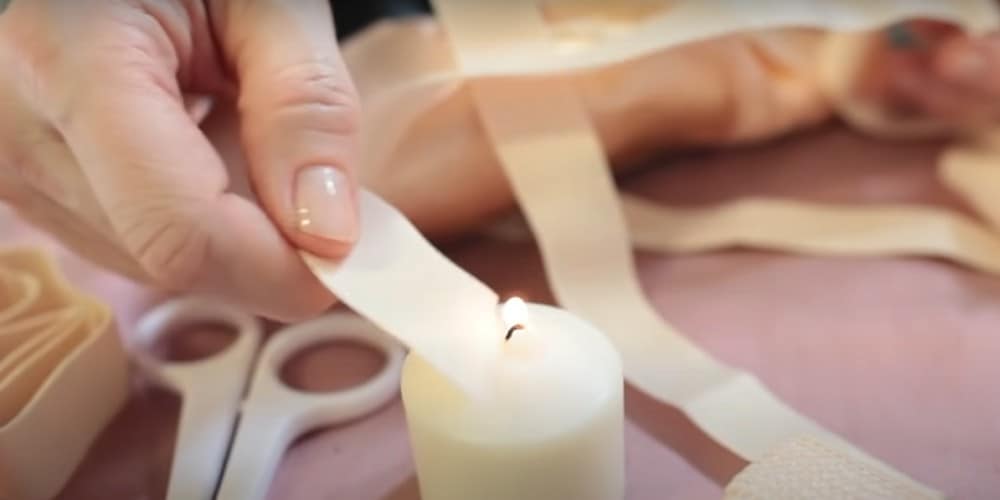
Step 7: Singe Ends of Ribbons
Use a lighter to heat the end of the tape. Place the end of the tape on the pointe shoe. Hold the lighter underneath the tape until it sticks to the shoe. Repeat on the other side.
FAQ
Should I sew my pointe shoes with floss?
The short answer to that question is yes. Sewing pointe shoes with thread is a good idea for two reasons: the thread helps prevent the ribbons from tearing and the thread helps eliminate unwanted creases in the ribbons.
Can you use normal thread to sew pointe shoes?
If you have a good, strong sewing machine, you can use all-purpose thread. But if you have a sewing machine that is not strong enough, you will want to use all-purpose thread that is more heavy-duty. Sewing machines can be damaged if the needle hits the floss while sewing, so use a needle that is suitable for sewing through thick layers.
What do you use to sew pointe shoes?
Sewing pointe shoes is typically done by sewing on the shank with a heavy-duty needle and thread. The thread is usually thicker than normal sewing thread. It is recommended to use Durasleeks or Nylons for sewing shoes.
Conclusion
Overall, there is no definitive answer to this question. Some pointe shoe sewers prefer to use a sewing machine, while others hand sew their beginner ballet pointe shoes. Some people use a combination of machine and hand sewing. There are a variety of techniques that can be used.